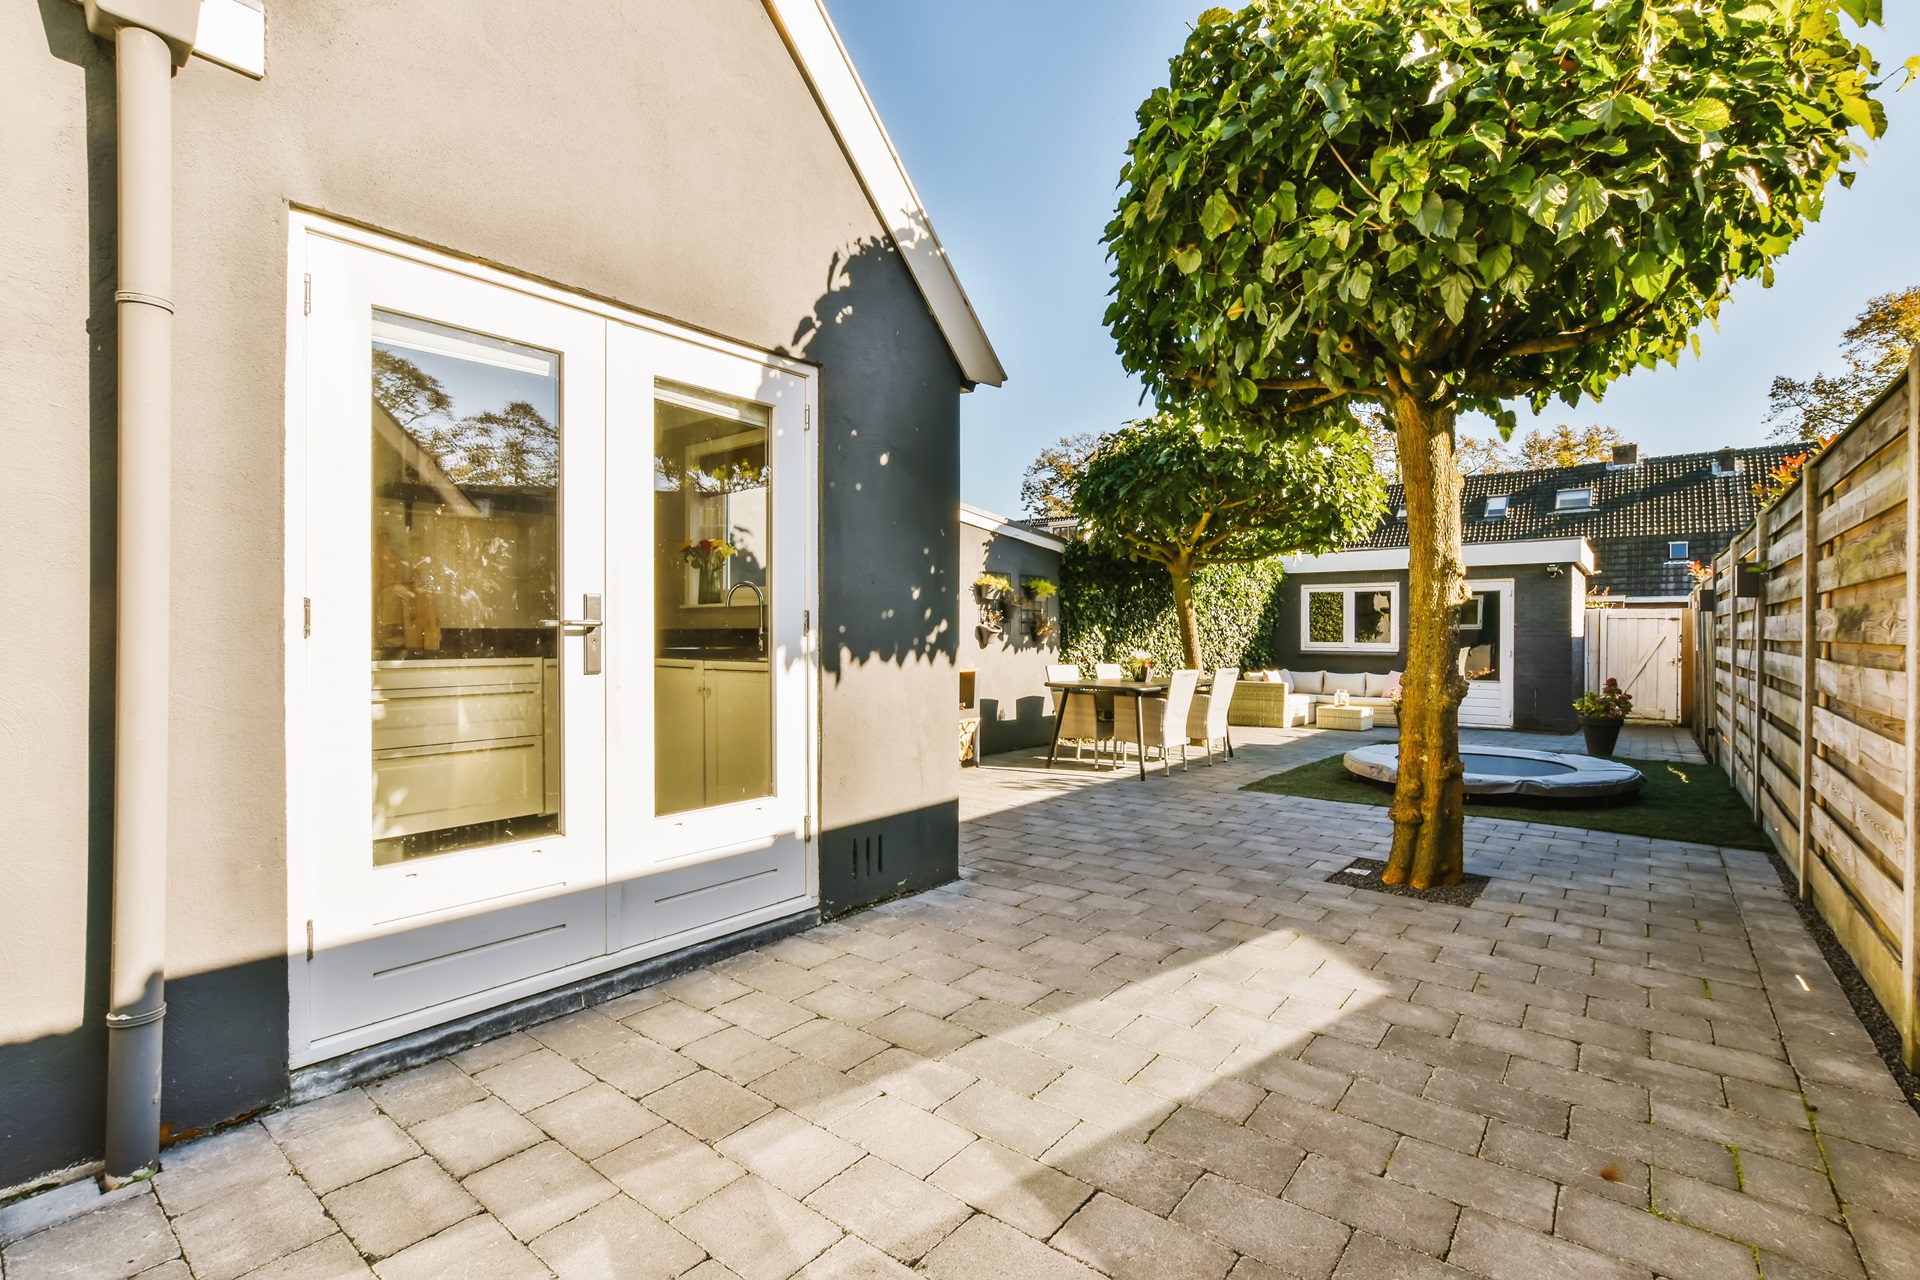
Top Tips for Great Property Photos in 2024.
Taking great photos of your property can make a big difference. Whether you want to sell, rent, or just show off your space, good photos are important. They help people see the best parts of your home or building.
But how do you take those great photos? It's more than just pointing and clicking. You need the right equipment, good lighting, and some smart tips for setting up your shots.
In this guide, we will explore everything you need to know about taking top-notch property photos in 2024. You will learn about the best cameras and lenses, how to use light, and how to make your spaces look their best. Plus, we'll cover some easy photo editing steps to make your pictures perfect.
Choosing the Right Equipment
Having the right camera and gear is super important. A high-quality camera lets you capture clear, sharp images. DSLRs and mirrorless cameras are great options. They have bigger sensors, which help take better photos, especially in low light. Brands like Canon, Nikon, and Sony have excellent choices.
The lens you use matters, too. For small spaces, a wide-angle lens works best. It can fit more into the frame, making rooms look larger. For detailed shots, try a macro lens. It helps capture all those little features that make a property special.
Using a tripod is a must. It keeps your camera steady, which is crucial for sharp images. Tripods are also helpful for longer exposures and HDR photography. You won't need to worry about shaky hands ruining your photo.
Camera settings can make a big difference too. Use a high resolution to get the best details. Set a low ISO to avoid grainy photos. Keep your aperture between f/8 and f/11 for good depth of field. These settings will help you get clear, professional-looking shots every time.
Mastering Lighting Techniques
Lighting can make or break your photos. Knowing when and how to use light can transform a dull photo into a stunning one. Natural light is your best friend. It’s soft, even, and flattering. The best times to shoot are during the golden hours—shortly after sunrise and before sunset. The light is warm and diffused, making it perfect for property photos.
Artificial light can also be useful. Sometimes, natural light just isn’t enough. Use LED lights or softboxes to brighten up dark corners. They provide a consistent light source and help balance the exposure.
Reflectors and diffusers are handy tools. Reflectors bounce light into shadowy areas, while diffusers soften harsh light. This helps create an even lighting look, making the property appear more inviting.
Avoiding shadows is key. Shadows can make rooms look smaller and more cluttered. Position your lights or use natural light to minimise shadows. Open curtains, turn on all lights, and use additional lighting if needed. This will ensure every part of the room is well-lit and looks its best.
Framing and Composition Tips
Good framing and composition can turn ordinary photos into amazing ones. The Rule of Thirds is a simple but powerful tool. Imagine your frame divided into nine equal parts by two horizontal and two vertical lines. Place key elements along these lines or at their intersections. This creates a balanced and engaging photo.
Leading lines guide the viewer's eye through the frame. They can be anything from a hallway to a row of trees. Symmetry can also make your photos more attractive. Try to find natural lines in the property and use them to your advantage.
Making small spaces look larger is important. Use a wide-angle lens and shoot from the corners of the room. This helps capture as much space as possible. Keep the room tidy and free of clutter to enhance the feeling of space.
Capturing unique features of the property adds an extra wow factor. Whether it’s a beautiful fireplace, a modern kitchen, or a stunning view, make sure to highlight these features. They set your property apart and draw more interest from viewers.
Post-Processing for Perfect Photos
Editing your photos is the final step to making them look their best. Start with basic photo editing steps like adjusting brightness, contrast, and colour balance. These simple tweaks can make a big difference.
Software like Lightroom or Photoshop is very useful. They offer powerful tools to enhance your photos. You can remove blemishes, correct lens distortions, and even add a bit of sharpness. Learning how to use these tools can take your property photos to the next level.
Consistency in editing style is key. Use the same filters or adjustments for all your photos. This creates a uniform look which is pleasing to the eye. It also makes your property photos easily recognizable.
Avoid common photo editing mistakes. Over-editing can make your photos look fake. Keep your edits subtle. Make sure the colours are natural and the lighting looks real. These small details will make your photos look professional and trustworthy.
Conclusion
Taking great property photos involves more than just snapping a picture. From using high-quality equipment to mastering lighting and composition, every step is important. Editing your photos brings it all together, making your property look its best.
These tips will help you showcase your property in the best light. Whether you are selling, renting, or just showing off, good photos make a big difference. They attract more attention and can even help properties sell faster.
Ready to take your property photos to the next level? Let Focl Media help you create stunning, professional images that highlight the best features of your property. Contact us today to find out how we can make your property shine with our real estate photography services.

